C:\Users\B3nac\AppData\Local\Android\sdk\platform-tools\
Setup and tips for Android APK recon
What is an .apk?
Android Package Kit a.k.a packaged version of an Android application. This is what we'll be stripping down like we are working at a strip club.
ADB
ADB or Android Debug Bridge will be your new best friend, girlfriend, and wife in regards to Android testing. This is the tool we will use in order to pull .apks install apks etc.
To install ADB you'll need to install Android Studio or alternatively install just platform-tools with the Andriod SDK if you don't want the Android Studio IDE. Testing is multiplaform with all the tools I'll be covering in this write-up. The next step is adding ADB to your path. For windows go to evironment variables and add your path to platform tools to the PATH user variable.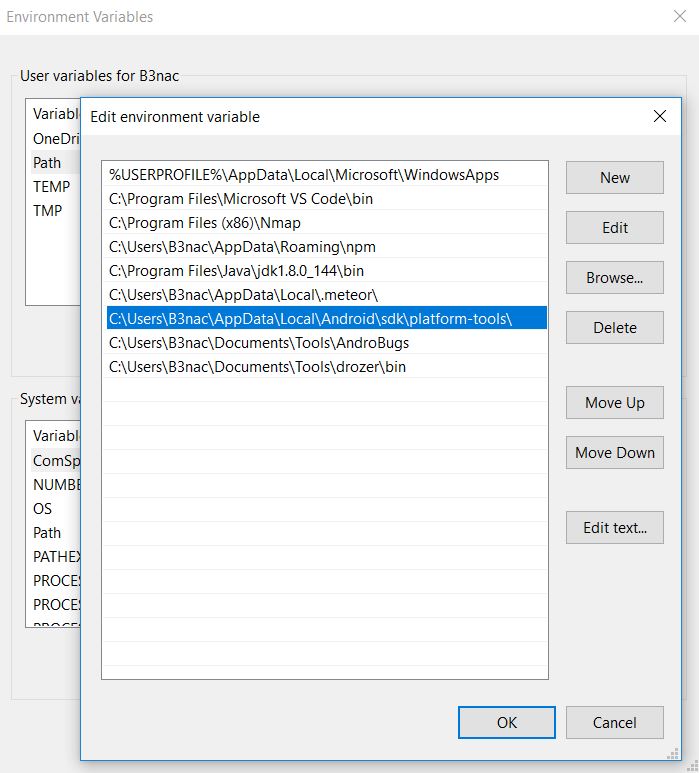
A win 10 example of the path:
Exporting the path to Linux ~/.bashrc example incase "sudo apt-get install adb" didn't add it automatically:
export PATH=$PATH{}:/path/to/android/platform-tools
After adding adb to your path make sure it's working correctly by using the following command.
adb version
You should get a response simular to.

Now that adb is setup we'll move onto adb commands. First you'll need to connect your Android test phone via usb cable and enable debugging under the phone settings "Settings/System/Developer Options/USB debugging". After debugging is enabled Android Debugging Bridge can work its magic.
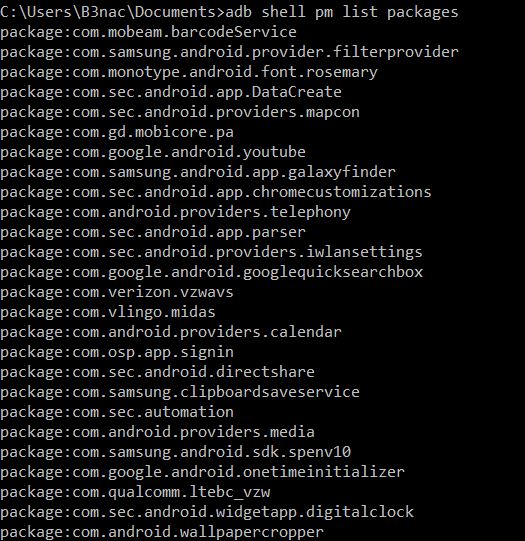
The first command we will run is "adb shell pm list packages" this lists all the .apks listed on the phone.
Once we have the name of the .apk we want, then we can get the path information with "adb shell pm path com.nameofapk"

Now we can pull the .apk onto our PC so we can reverse engineer it. "adb pull /data/app/io.github.b3nac.poc-2/base.apk" >:]

It's time to bust out the handy dandy jadx tool. I'm using jadx with a gui for the nifty search function it has. There are many other tools you can use to reverse engineer. I'll go in depth on more tools in future posts.
Setting up jadx is as simple as:
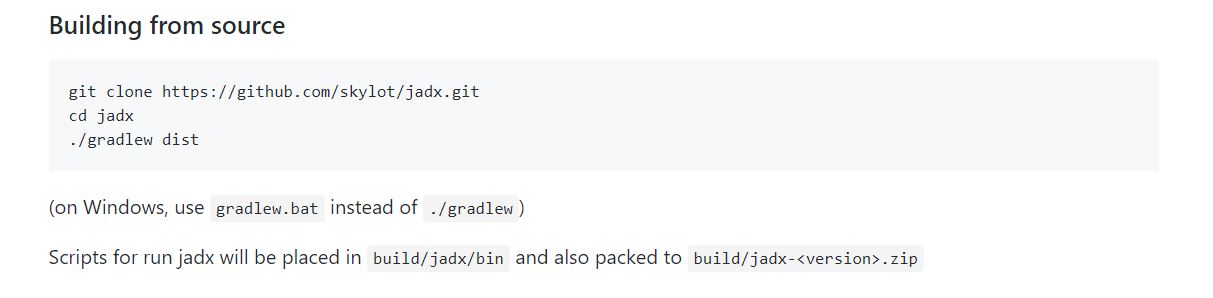
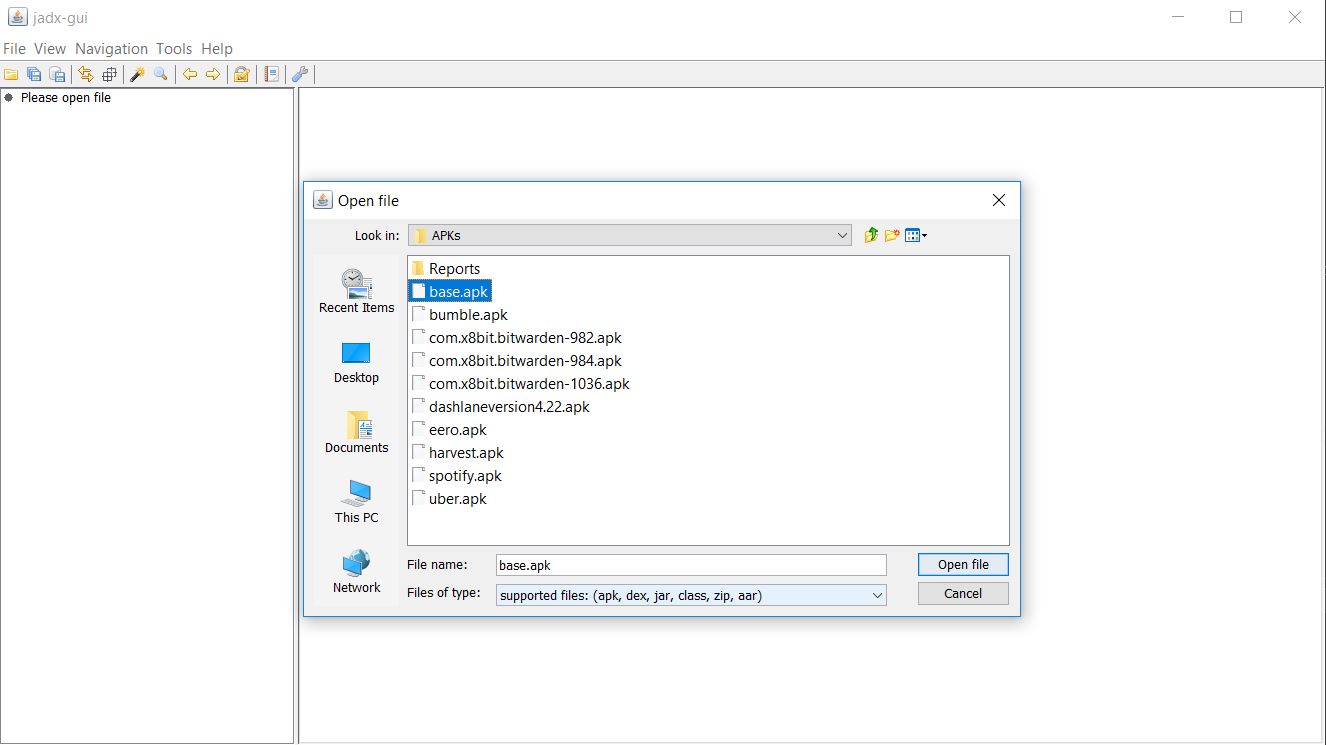
Gradle comes with android studio making it easy to install jadx. Now lets open the base.apk. I usually rename them or else the previous one gets overwritten if you pull another apk to the same directory.
After it decompiles jadx lists all of the packages and resources. This particular apk doesn't have a lot going on because it was a poc.
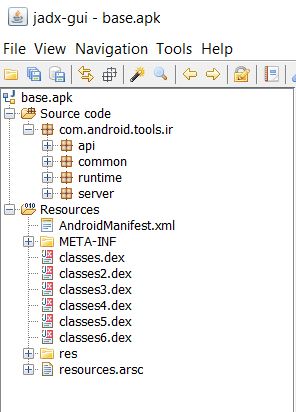
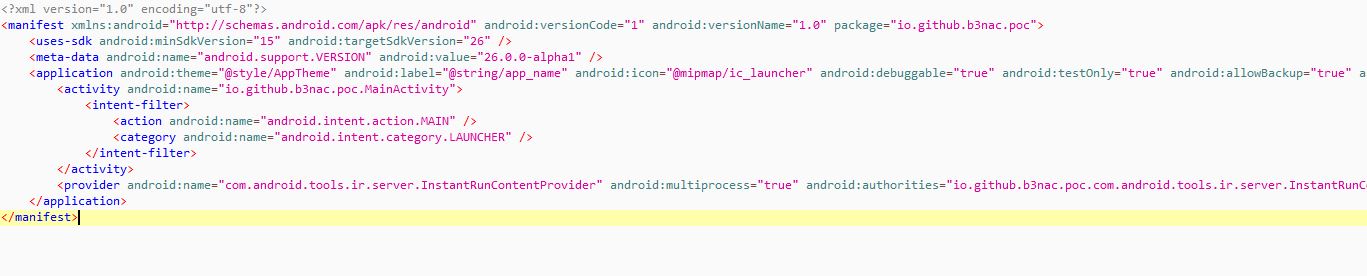
The first file you are going to want to look at is the manifest. The android manifest lists all the inner workings, permission levels, activities, broadcasts. This is where you'll want to check for unsafe "exported" activities, broadcasts, "debuggable=true", "backup=true". If a android application in in production with "backup=true" or "debuggable=true" that needs to be changed to false like yesturday. The android manifest is a gold mine of information for researchers because it is a roadmap to how the android app works. The manifest will be under Resources/AndroidManifest.xml
Besides the manifest, what was once a closed source program is now open source. I have looked for key functions that are vulnerable because sometimes you'll find insecure implimentations. For example if you find "MODE_WORLD_READABLE" or "MODE_WORLD_WRITEABLE" for storage use. An important function of jadx is the search function which is the wand up in the top left 
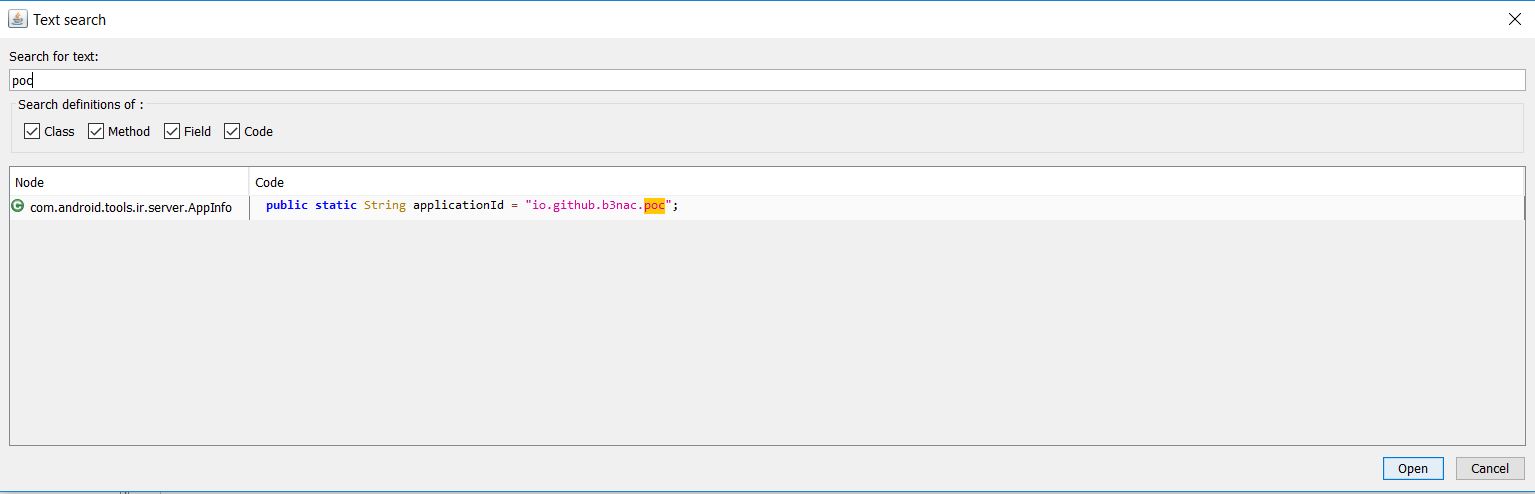
Once again there's not a lot to this apk but you can end up finding keys, plaintext passwords and all kinds of good stuff.
In conclusion I hope you enjoyed learning about how to reverse engineer a Android application for recon purposes. I will go more in depth on several functionalities in the future. Like WebViews, Activities, Broadcast Recievers, and Intents. Happy hacking everyone!
Resources
https://developer.android.com/studio/install.htmlhttps://developer.android.com/studio/index.html#downloads
https://github.com/skylot/jadx